Start with the section, not just the plan
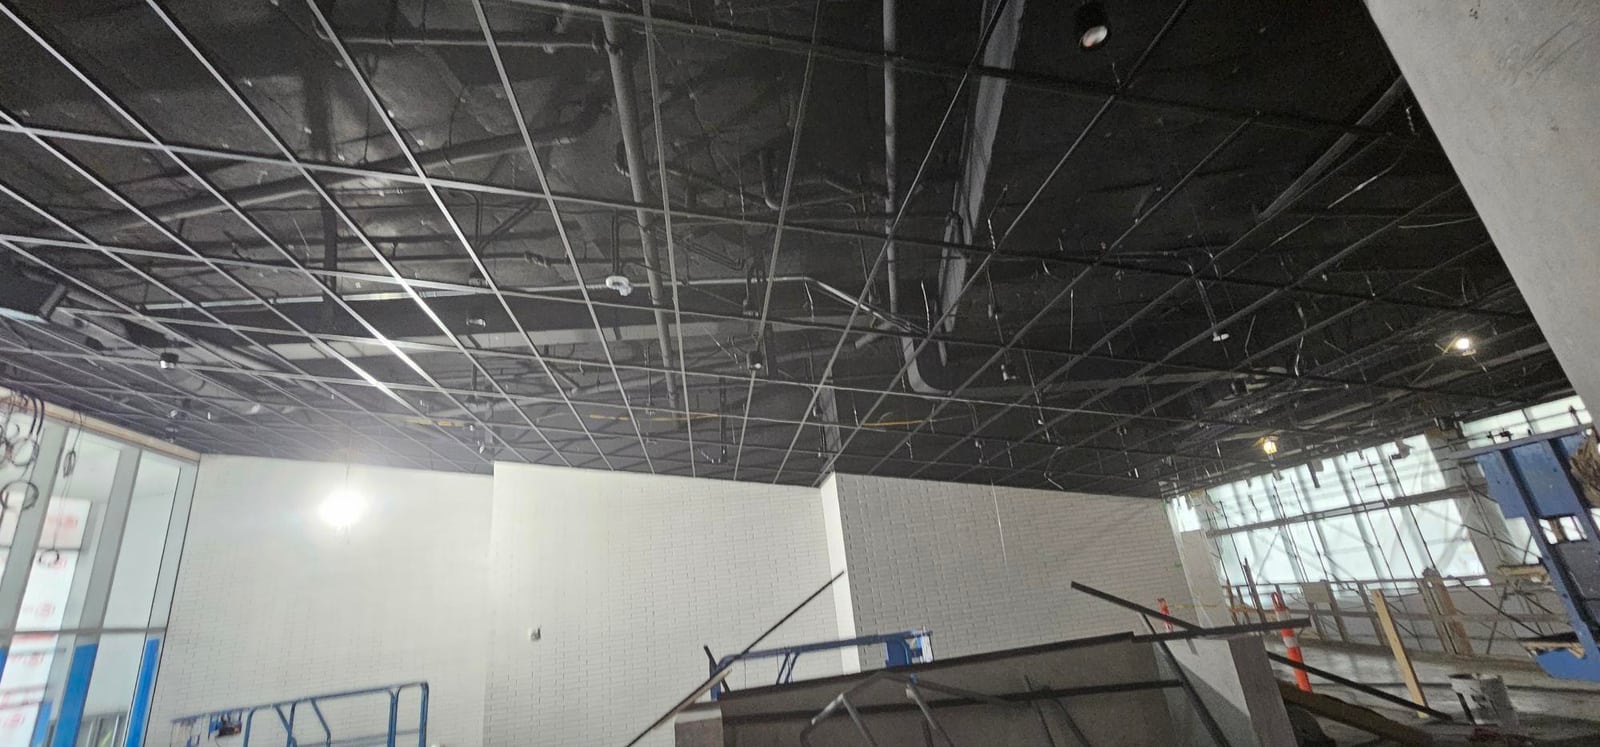
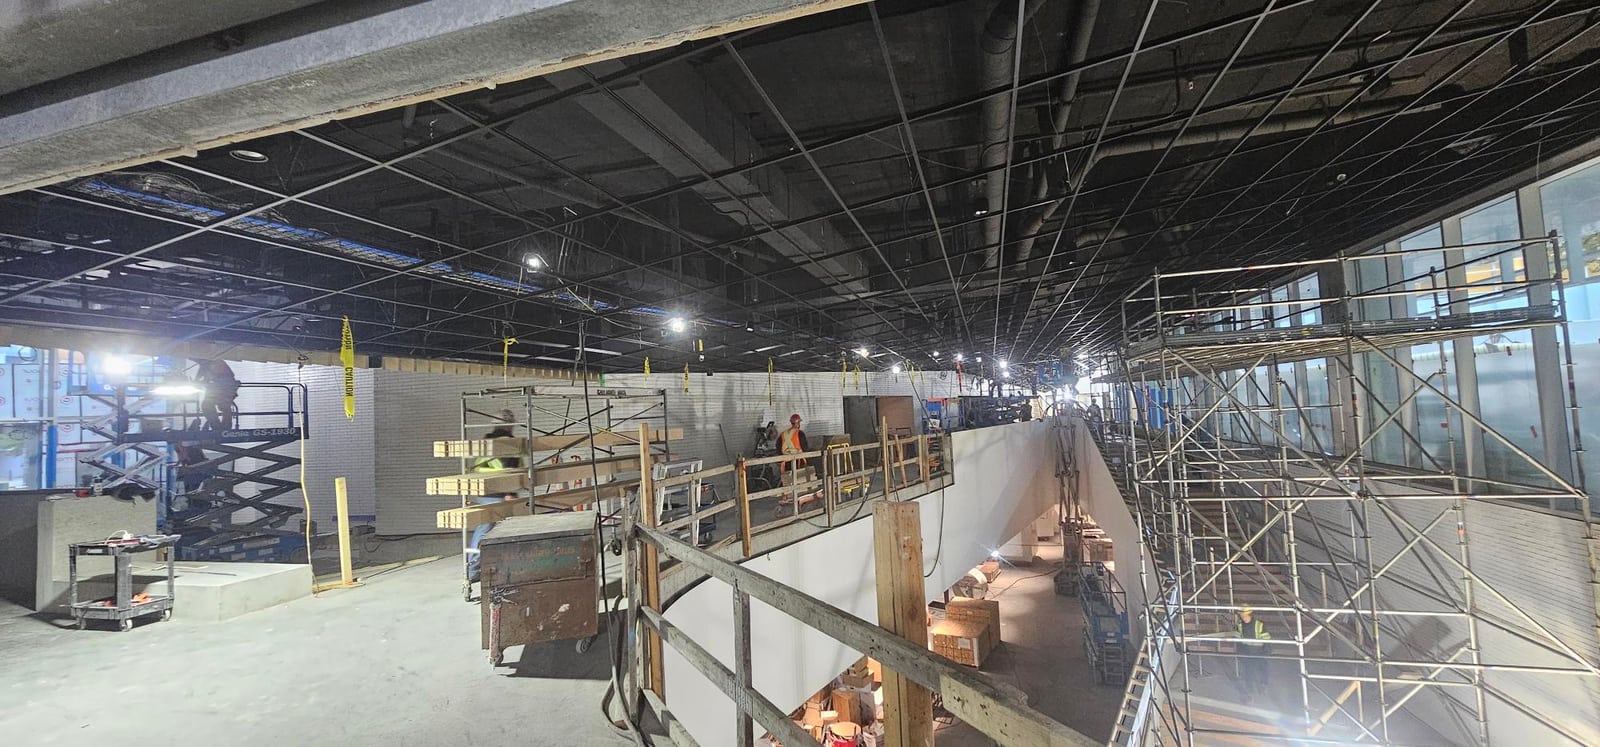
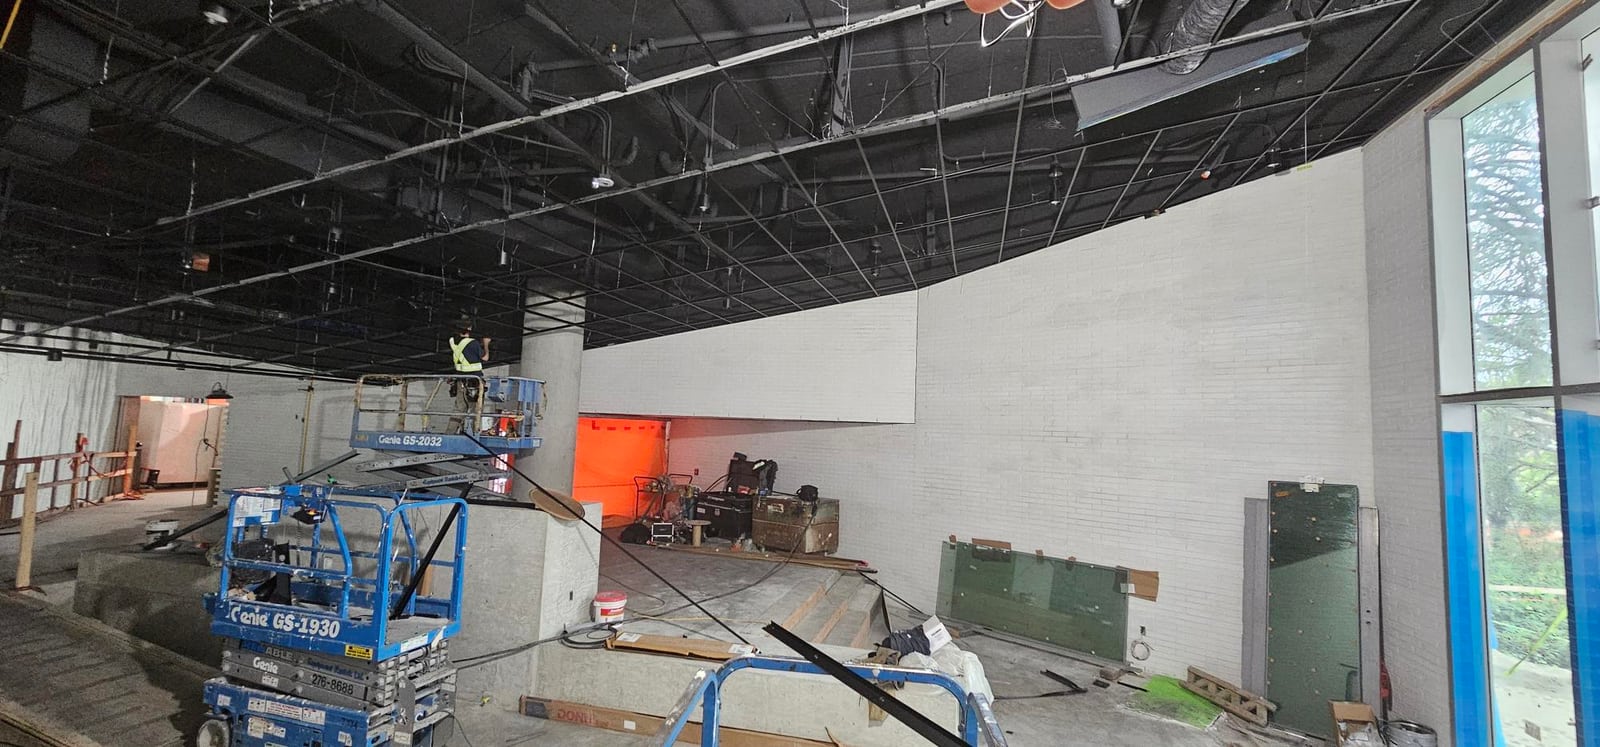
A sloped ceiling needs a clearly defined relationship between the roof or structure above and the finish below. The supplied School of Biomedical Engineering photographs at UBC show black grid installation described by Mason as a sloped grid for wood ceilings. Use the design sections and reflected ceiling information together. The photograph illustrates construction progress; it does not provide the geometry or support design for another project.
Agree the visual control lines
Review the intended direction of the finished panels, perimeter relationships and changes in plane. Ask where the design begins and how it meets adjacent construction. Resolve discrepancies with the responsible designer before the finish is installed. The construction sequence is an opportunity to check those decisions while the underlying grid remains visible.
Coordinate openings and services
Lighting, sprinklers, air distribution and access needs must be considered alongside the ceiling layout. Ask the project team to identify interfaces that affect the grid or finished panels. Moving one item after installation can affect more than the local opening. Do not infer approved spacing or a fixing method from a photograph taken during work.
Plan safe access and the trade sequence
A sloped or high ceiling can affect access equipment, material handling and work order. The contractor should review the actual site conditions and agree the required arrangements. The images do not establish the equipment appropriate for your premises or a safe-work procedure. Confirm those details through the project team rather than copying what appears in a progress picture.
Bring the complete package to pricing
Provide current plans and sections, the selected finish system, ceiling height information, the work area and the required schedule. State which trade supplies the support system, perimeter components and finished panels. Identify work that must remain accessible. The objective is a coordinated proposal with clear responsibilities, rather than a framing allowance based only on floor area.